Launching a Tech Blog

Introduction
This blog is the official technical blog of the Solbox Inc. SceneMakerAI project, which repurposes broadcast content using open-source AI technology.
During the development process, we decided to publish a blog post every month. While we had already decided to write the posts in Notion, we were unsure how to publish them publicly. After testing several options (Velog, Tistory) simultaneously, we ultimately chose Docusaurus.
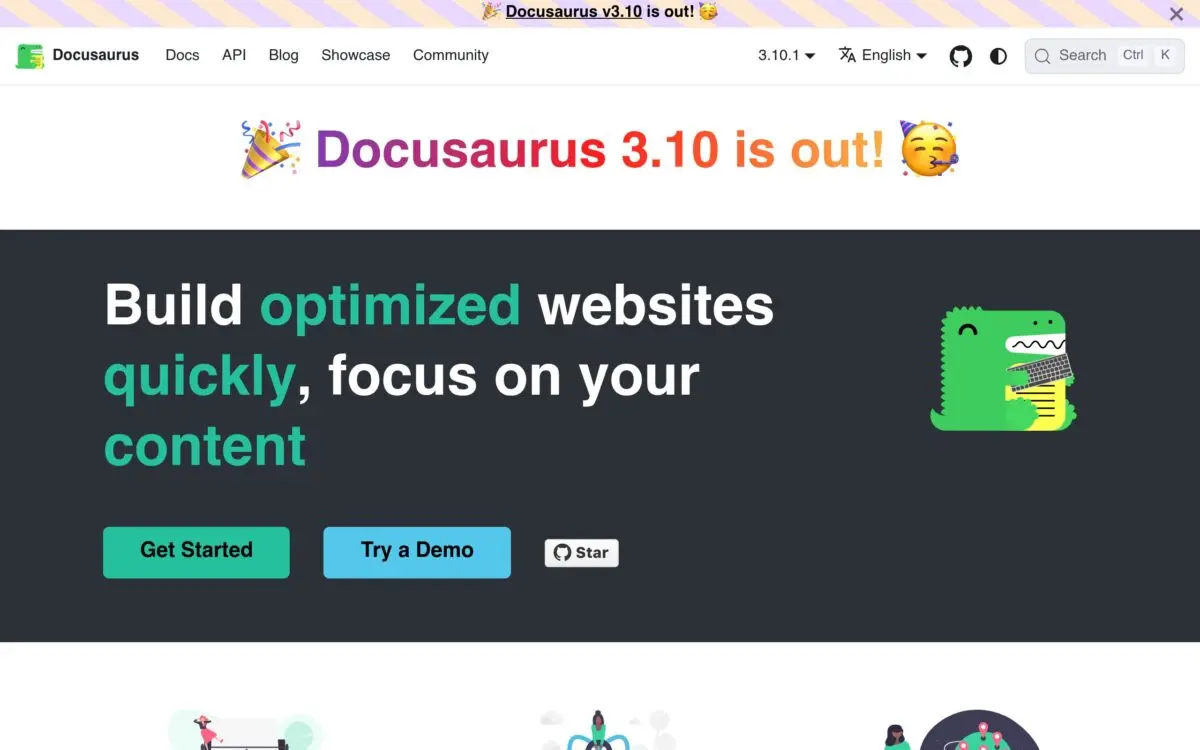
Docusaurus is an open-source project created by Meta and is a Static Site Generator (SSG) used by various companies. It has well-organized official documentation, a vibrant community, and—most importantly—we trusted it because it provides a deep architecture like the one described above.
Here are the factors I considered when comparing platforms:
| Platform | Pros | Cons | Selection Status |
|---|---|---|---|
| Velog | Easy to set up and developer-friendly | Limited customization of themes and document structuring | On hold |
| Tistory | Allows skin customization and is widely used | Lack of Markdown support and difficult to manage via code | On hold |
| Docusaurus | Allows you to fully own the site through code and integrate documentation and blogs for structured organization. Notion integration automation is a major advantage | Requires significant effort for initial setup and building the deployment pipeline | Final Choice |
I was surprised to find that there is official documentation, an active community, and even an architecture like the one shown below.
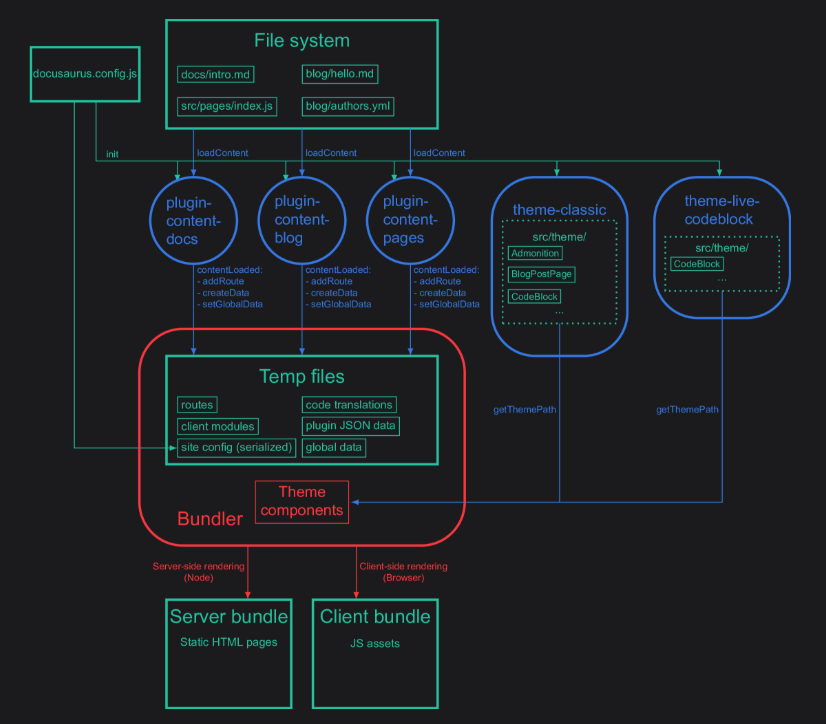
It also covers Plugins, Routing, SSG (Static Site Generation), and Client Architecture. (Reference link: Docusaurus Advanced )
Notion to Docusaurus Synchronization
To publish my posts publicly, I set up a synchronization pipeline by following the steps below.
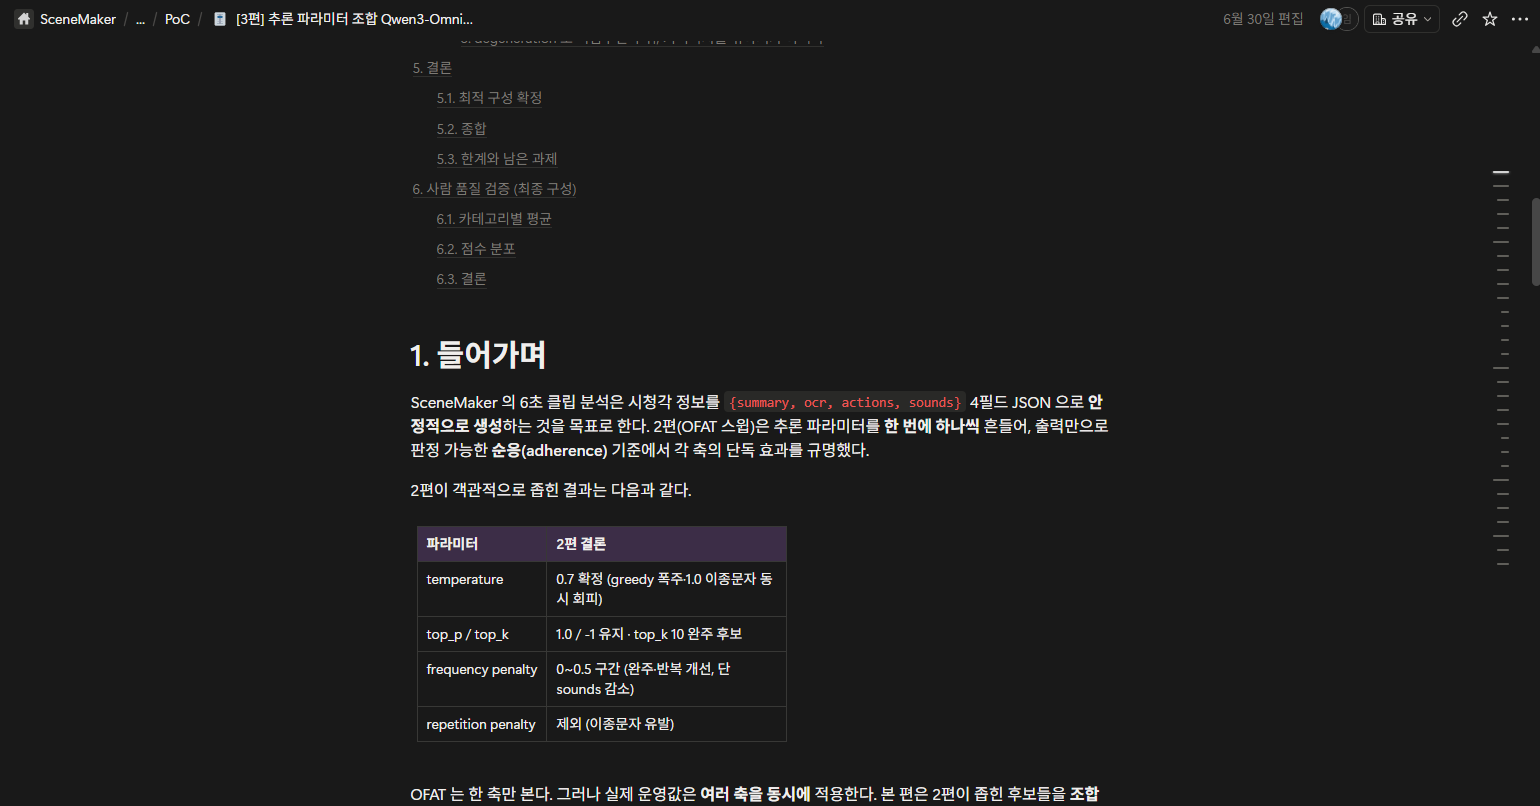
1. Writing a Notion Post
- Since we’ve been using Notion for collaboration for a long time, I initially continued to use it to write blog posts as I always had.
Screenshot of the Notion workspace where the team drafts technical blog posts
2. Configure Docusaurus
- For detailed CLI configuration, I recommend referring to the official documentation (Docusaurus CLI). I linked our URL and GitHub page in the
docusaurus.config.tsfile.
const config: Config = {
  title: 'SceneMakerAI',
  tagline: 'Repurposing Broadcast Content with Open-Source AI — SceneMakerAI Technology Blog · Documentation',

  ...
            sameAs: ['https://github.com/SceneMakerAI'],
            parentOrganization: { '@type': 'Organization', name: 'Solbox Inc.' },
          },
          {
            '@type': 'WebSite',
            name: 'SceneMakerAI Docs',
            url: 'https://doc.scenemaker.solbox.com',
          },
        ],
      }),
    },
3. Copying from Notion to MD
- To use the Notion API, you need to generate a token and verify the ID for each database.
NOTION_TOKEN=
...
NOTION_RELEASE=
NOTION_INSTALL=
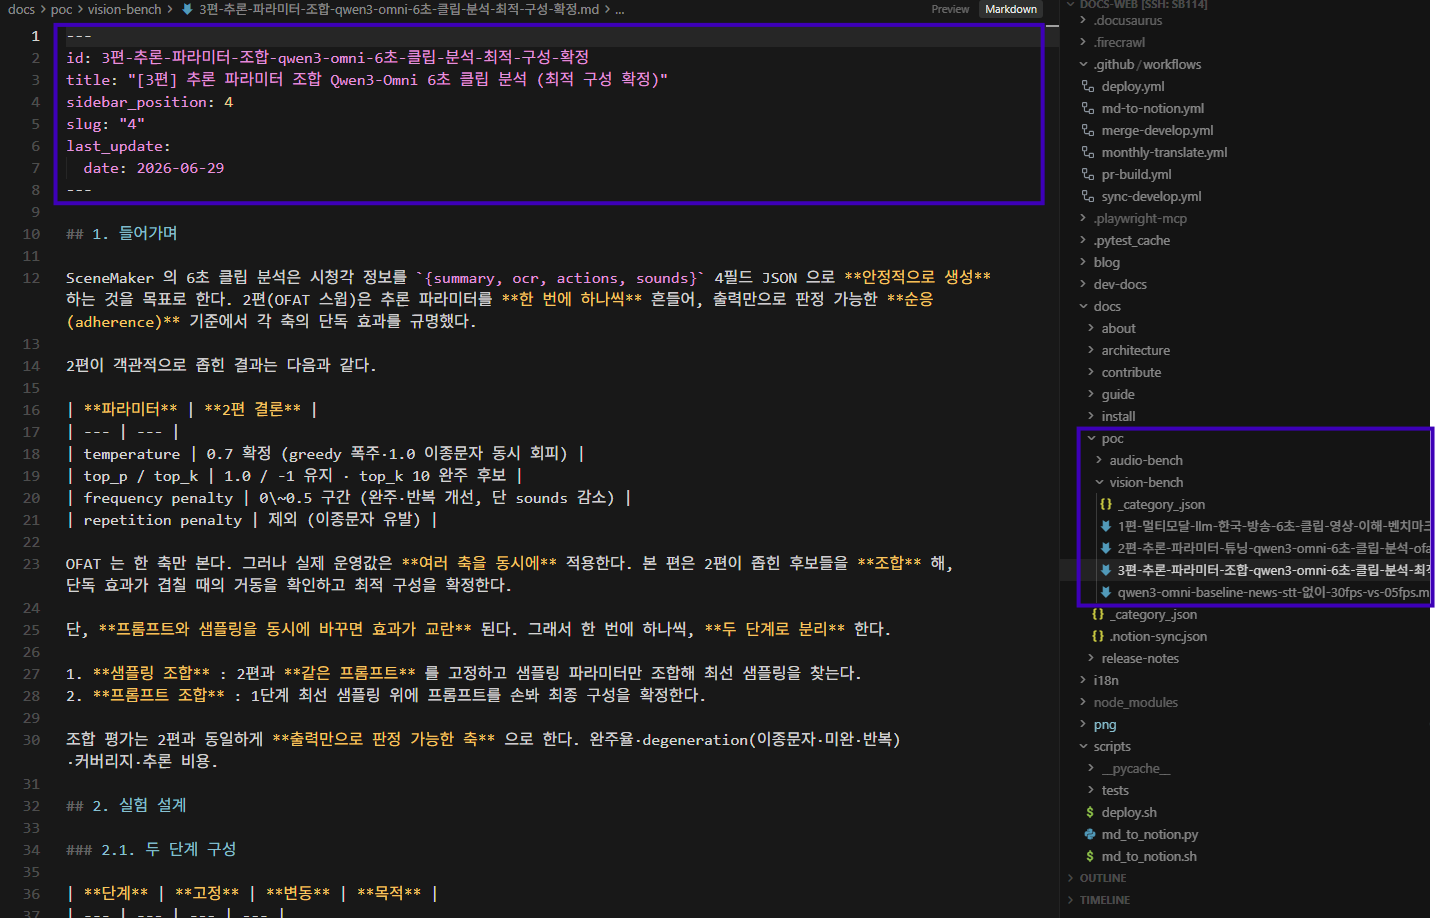
- We set up the system using the
notion_to_md.pyscript so that Notion content appears on the build server in Markdown format.
4. Workflow Synchronization
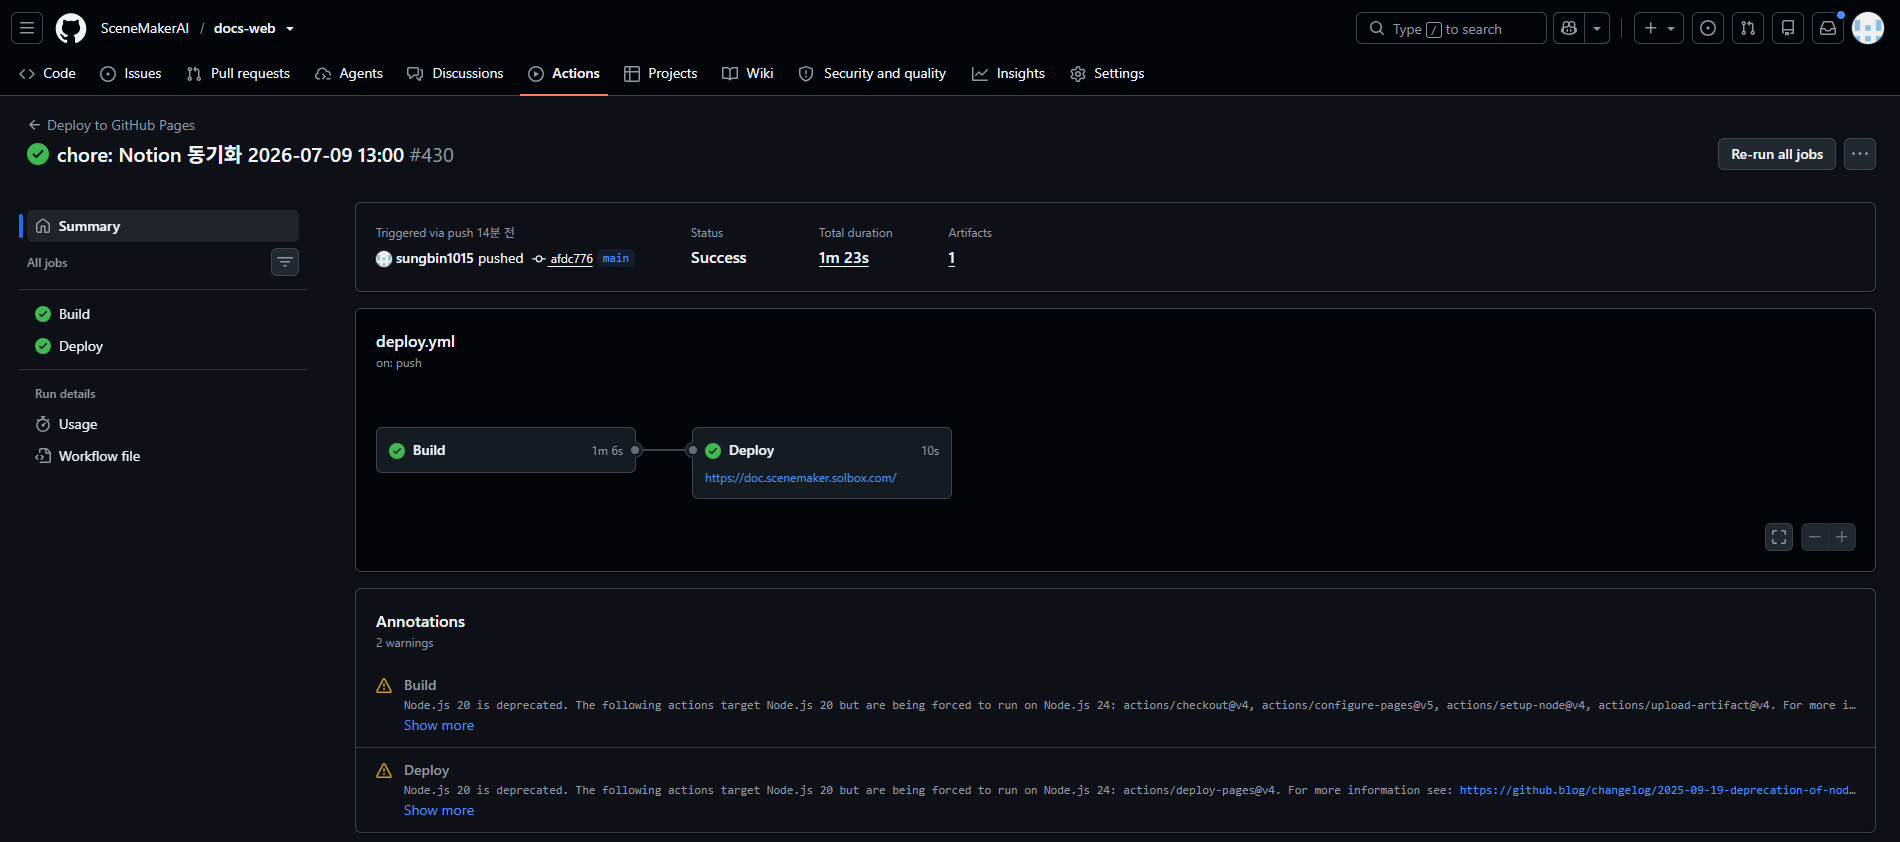
- We utilized GitHub Actions to separate the build and deployment processes, thereby completing the CI configuration.
-
Build: Reads the code from the main branch and builds the converted MD files into static files (HTML/CSS/JS) (
npm cifollowed bynpm run build) -
Deploy: Automatically deploys the built static files to the production domain (doc.scenemaker.solbox.com)
-
Screenshot of the successfully completed GitHub Actions build and deployment workflow
-
Synchronization Results
Our core goal was to implement the screen layout seen in Notion on the web exactly as it appears in the original Notion.
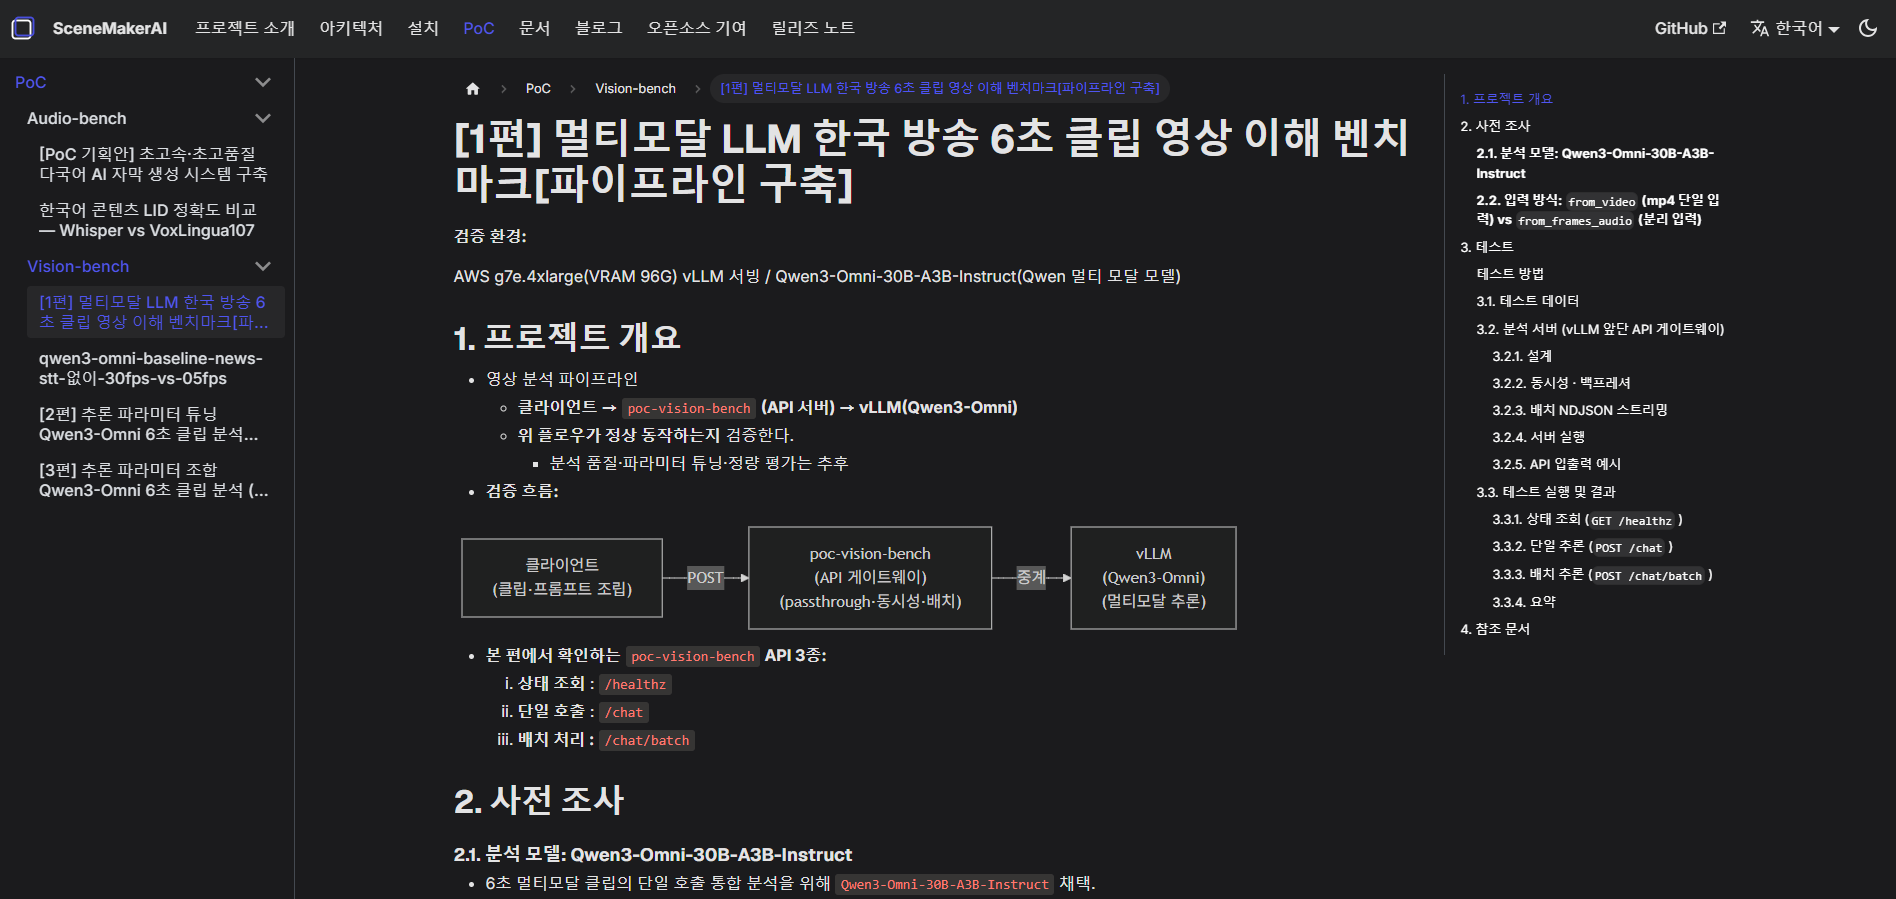
The final result: the Notion layout perfectly converted into a Docusaurus theme and deployed
Conclusion
This process wasn’t entirely smooth—it was a Docusaurus migration project that took much longer than expected.
In particular, the biggest hurdle was ensuring that two-way synchronization between Notion and MD worked seamlessly without exception.
We had to convert Notion’s unique block styles, custom toggles, and image embed paths into Markdown files without breaking them,
and then perfectly align them with Docusaurus’s themes and SEO-optimized layouts—a process that involved a lot of trial and error as we encountered numerous rendering errors.
Still, once we’d established our own automation framework to some extent, things started to pick up speed—simply writing the content was enough for it to be automatically deployed. It’s a truly fascinating tool that makes all the hard work worthwhile.
Preview of the Next Post
Now that we have a complete technical blog infrastructure in place, I plan to start sharing the core technologies of SceneMakerAI in earnest. In the next post, I’ll cover in detail “Qwen 3.6: A Case Study on Applying LLM to the Broadcasting Domain,” where we optimized and applied an LLM to the broadcasting domain, so please look forward to it.
This post presents research results conducted with support from the Ministry of Science and ICT and the National IT Industry Promotion Agency’s “2026 Open-Source AI and Software Development and Utilization Support Project.”